The Email Template Settings feature in KiviCare enables administrators to manage and customize automated email notifications sent by the system. This ensures clear, consistent, and branded communication with Patients, Doctors, Clinics, and Receptionists across all system activities.
Why Use Email Template Settings?
This feature provides flexibility and control over system-generated emails:
- Customization
Customize email subject lines and message content to match your clinic’s branding and communication style. - Notification Control
Enable or disable specific email notifications based on your operational needs. - Email Verification
Use the built-in testing tool to confirm that your email service (SMTP) is configured correctly and functioning as expected.
How It Works
The Email Template Settings page retrieves a predefined list of email templates from the server. Administrators can:
- View all available templates
- Filter templates by recipient type
- Edit template content
- Enable or disable individual notifications
When a system event occurs—such as an appointment booking—the system checks whether the relevant email template is active. If enabled, the email is sent using the configured subject and body content.
Key Features
-> Template Listing
View all available email templates, organized by recipient type:
- Patient
- Doctor
- Clinic
- Receptionist
-> Search & Filter
Quickly locate specific templates by name or filter them based on user roles.
-> Enable / Disable Notifications
Easily toggle each template between:
- Published (enabled)
- Draft (disabled)
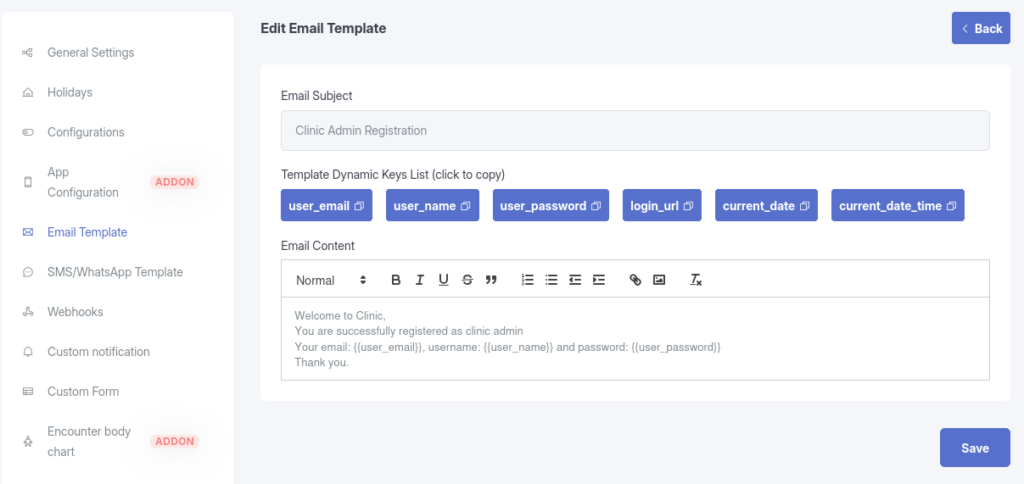
–> Manage Email Content
Edit both the Subject and Body of each email template.
Supports dynamic placeholders {{patient_name}} to create personalized messages.
–> Test Email Functionality
Use the Send Test Email feature to send a sample email to any address. This helps verify email delivery and ensures your SMTP configuration is working properly.